How to Make Screenshots Look Professional for Docs & Social Media
The problem with raw screenshots
We take screenshots every day. We use them in software documentation, bug reports, product launch announcements on X (Twitter), and LinkedIn posts.
But a raw, unedited screenshot usually looks terrible.
It is often the wrong aspect ratio for the platform you are posting to. It lacks context. It might capture messy desktop icons, an embarrassing number of browser tabs, or jarring screen glare. In a professional context, especially when building a SaaS landing page or a help centre, these raw screenshots degrade the perceived quality of your product.
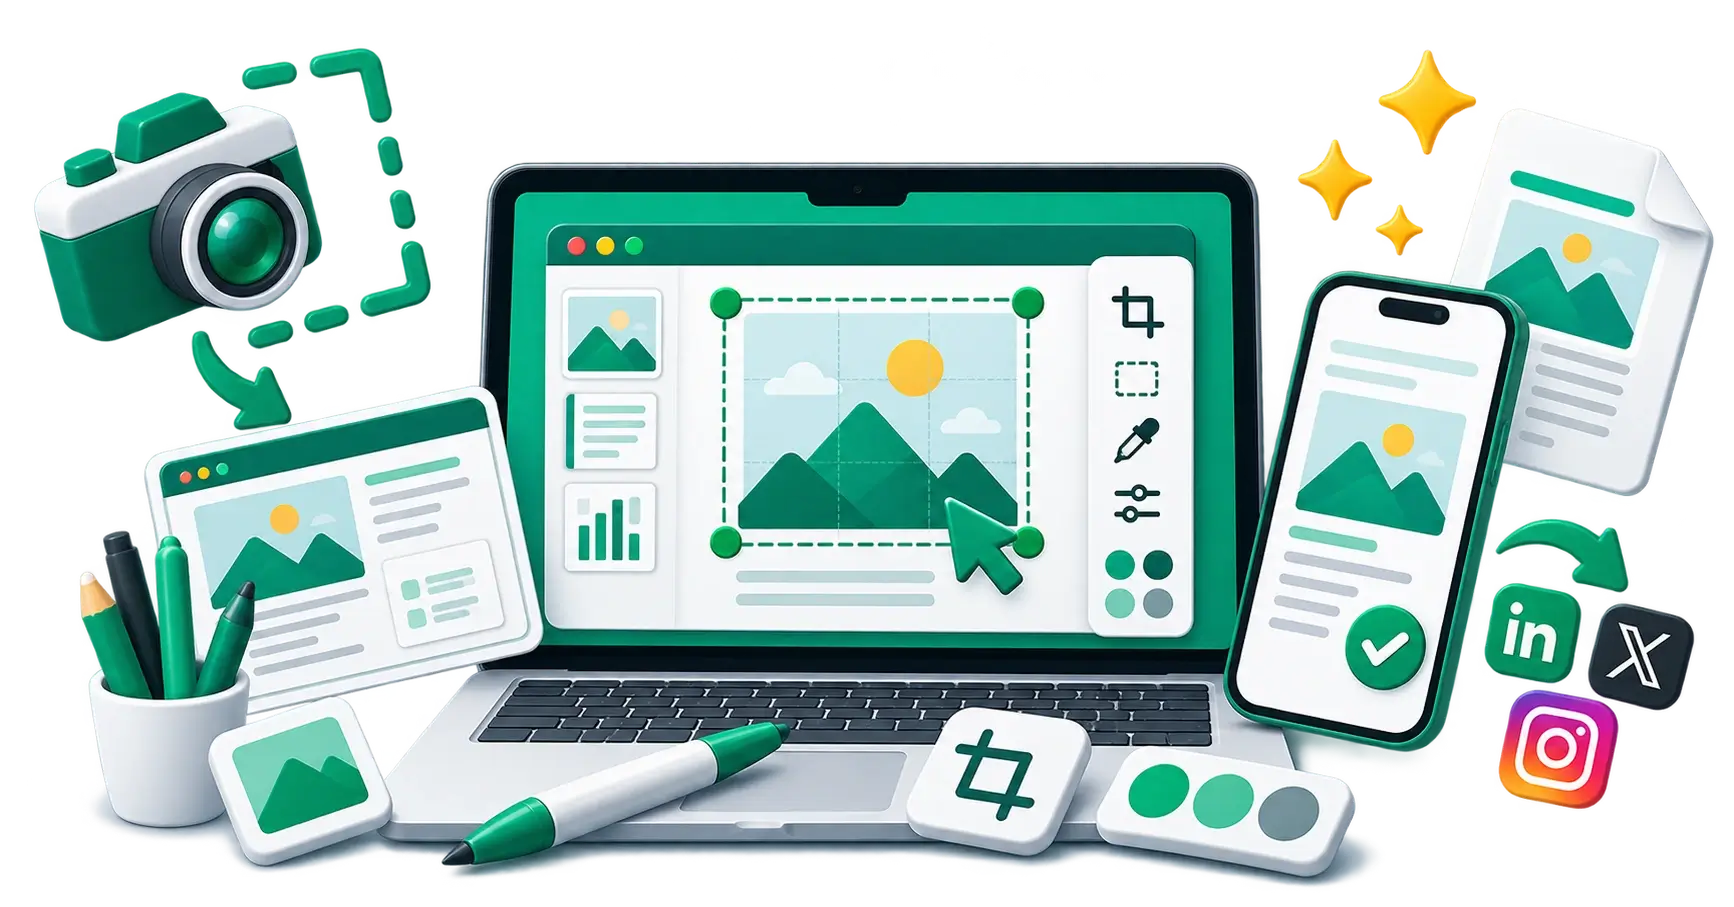
Beautifying a screenshot transforms it from a messy capture into a polished, marketing-ready asset.
What is a "Beautified" Screenshot?
A beautified screenshot typically involves adding a few specific design elements:
- Padding & Backgrounds: Placing the raw screenshot on top of a larger, visually pleasing canvas (usually a gradient or solid brand colour). This provides breathing room.
- Browser Frames: Wrapping the screenshot in a mockup of a macOS or Windows browser window. This provides context, indicating "this is a web app."
- Drop Shadows: Adding a soft shadow behind the screenshot to separate it from the background and create depth.
- Rounded Corners: Softening the harsh, jagged edges of the raw capture to match modern UI design trends.
How to use the free Screenshot Beautifier?
You don't need Figma or Photoshop to create these polished assets. The CampaignMorph Screenshot Beautifier handles the entire process in your browser.
Step 1: Upload or paste
Drag and drop your raw screenshot, or paste it directly from your clipboard (Ctrl+V or Cmd+V).
Step 2: Choose a background
Select a solid colour, a sleek gradient, or a transparent background (useful if you are placing the image onto a website that already has a colored section).
Step 3: Add a frame and styling
Toggle the browser frame (macOS style is the most popular for SaaS products). Adjust the padding to increase or decrease the background area. Add a drop shadow for depth.
Step 4: Export
Download the final, high-resolution PNG.
Best practices for screenshot formatting
1. Documentation and Help Centres
When creating tutorials, consistency is critical.
- Don't: Upload wildly different sizes and aspect ratios.
- Do: Use the Beautifier to apply a consistent padding and a subtle, neutral background (like light grey) to every screenshot. This makes your documentation look unified and professional.
2. Social Media (X, LinkedIn)
Social feeds are highly visual and scroll rapidly.
- Don't: Post a wide, raw screenshot that gets cropped awkwardly in the feed preview.
- Do: Use vibrant gradient backgrounds to catch attention. Ensure the final aspect ratio fits the platform (e.g., 16:9 for X, or a slight vertical crop for LinkedIn).
3. SaaS Landing Pages
Landing pages need to build trust.
- Don't: Show a messy browser with dozens of tabs.
- Do: Use the "Browser Frame" feature in the Beautifier. It creates a pristine, idealised environment for your app interface, focusing the user entirely on your UI.
Related Content Tools
If you are building visual assets for marketing or documentation, check out these related tools:
- Image Cropper: Fix your image's aspect ratio before beautifying it.
- Image Resizer: Ensure your final asset isn't too large for web performance.
- Watermark Adder: Protect your proprietary UI screenshots by adding a subtle logo watermark before publishing.
Building software documentation or engineering blog posts? Learn how screenshot beautification fits into our complete Technical Content Publishing Pipeline Guide alongside markdown table generation and OpenGraph social cards.
Share this article
Help other marketers, developers, and creators discover these insights.