How to Crop Images for Social Media, Passports & Print: Aspect Ratios Explained
Why does cropping matter more than resizing?
When preparing images for digital or print use, people often confuse resizing with cropping.
- Resizing changes an image's overall pixel dimensions while maintaining its original proportions. It makes the file smaller or larger, but the content remains identical.
- Cropping removes outer portions of the image to change its focus, framing, or, most importantly, its aspect ratio.
If you try to squeeze a wide landscape photo (16:9) into a square Instagram slot (1:1) by resizing it alone, the image will distort and stretch. Cropping is the necessary step to change the image shape before you resize it for final use.
Understanding Aspect Ratios
An aspect ratio is the proportional relationship between an image's width and its height. It is expressed as two numbers separated by a colon, like 16:9. It describes the shape, not the size. A 16:9 image could be 1600x900 pixels or 160x90 pixels; the shape is the same.
Here are the most common aspect ratios and where they are used:
| Aspect Ratio | Shape | Common Uses |
|---|---|---|
| 1:1 | Square | Instagram posts, profile pictures (LinkedIn, Twitter), WhatsApp avatars |
| 16:9 | Widescreen Landscape | YouTube thumbnails, presentation slides, standard video formats |
| 9:16 | Vertical Video / Portrait | Instagram Stories/Reels, TikTok, YouTube Shorts |
| 4:3 | Classic Landscape | Older TVs, standard digital camera photos, some tablet screens |
| 3:4 | Classic Portrait | Standard vertical photos on phones |
| 4:5 | Social Portrait | Instagram vertical posts (optimal feed engagement) |
| 2:1 | Wide Landscape | Twitter/X link preview images, some hero banners |
A Cheat Sheet for Social Media Image Sizes
Social platforms are notorious for changing their image requirements. If you upload an image with the wrong aspect ratio, the platform will automatically crop it, often cutting off heads or hiding text.
- Square Post: 1:1 ratio (1080 x 1080px)
- Portrait Post: 4:5 ratio (1080 x 1350px) - Recommended for maximum feed real estate.
- Landscape Post: 1.91:1 ratio (1080 x 566px)
- Stories & Reels: 9:16 ratio (1080 x 1920px)
- Profile Picture: 1:1 ratio (320 x 320px minimum)
- Personal Profile Picture: 1:1 ratio (400 x 400px)
- Company Logo: 1:1 ratio (300 x 300px)
- Shared Image / Link Preview: 1.91:1 ratio (1200 x 627px)
- Cover Photo (Personal): 4:1 ratio (1584 x 396px)
X (Twitter)
- Profile Picture: 1:1 ratio (400 x 400px)
- Header Photo: 3:1 ratio (1500 x 500px)
- In-Stream Photo: 16:9 ratio (1600 x 900px)
YouTube
- Channel Profile Picture: 1:1 ratio (800 x 800px)
- Channel Banner: 16:9 ratio (2560 x 1440px)
- Video Thumbnail: 16:9 ratio (1280 x 720px)
Cropping for Passports and ID Photos
Official documents have strict, unforgiving photo-cropping requirements. While the exact dimensions vary by country, the general principles remain the same:
- Aspect Ratio: Usually a vertical rectangle. For example, US passports require a 2x2 inch square (1:1), while UK/EU passports require a 35x45mm vertical portrait (approx. 7:9).
- Head Size: The head must take up a specific percentage of the total image height (usually 70-80%).
- Positioning: The eyes must be located in a specific horizontal band, and the subject must be centred.
When cropping an ID photo, always check your specific government's guidelines. Don't crop too tightly; leave enough space above the head and across the shoulders to meet the requirements.
How to use the free Image Cropper
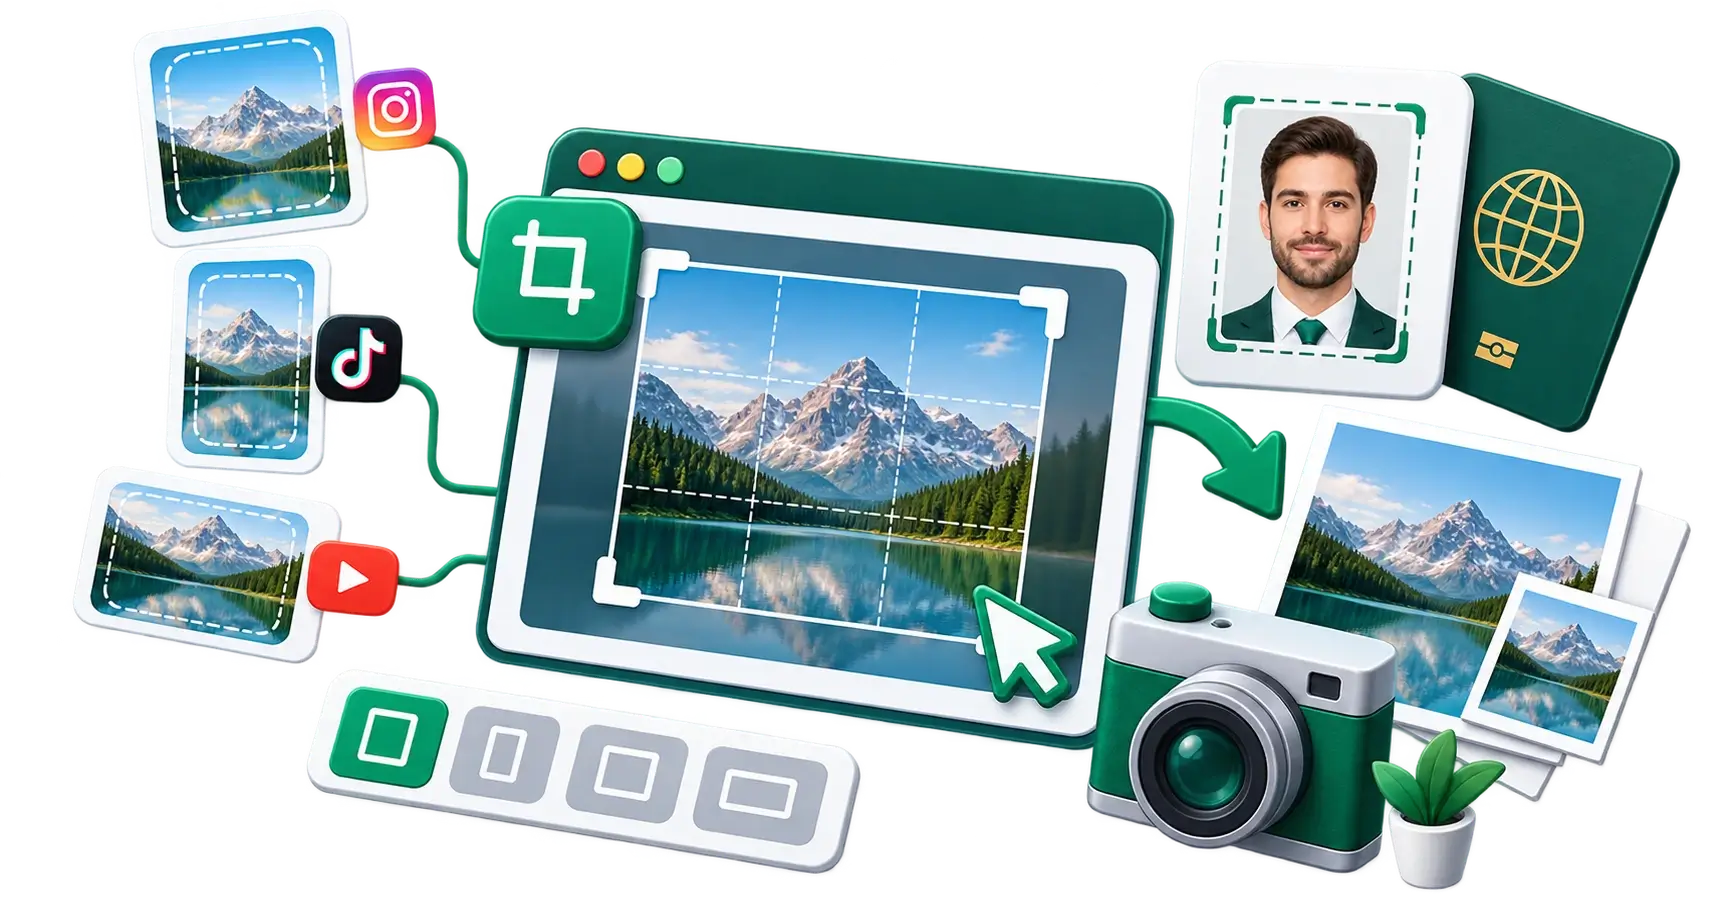
The CampaignMorph Image Cropper makes precision cropping fast, private, and entirely browser-based.
Privacy First: No Uploads Required
Unlike many online tools that upload your photos to a server, process them, and send them back, our cropper works entirely within your web browser. Your images never leave your device. This is crucial for personal photos, sensitive documents, or unreleased marketing assets.
Step-by-Step Guide:
- Load your image: Click to browse or drag and drop your image onto the canvas. Supported formats include JPEG, PNG, WebP, and SVG.
- Select an aspect ratio: If you are cropping for a specific platform (like an Instagram post), use the aspect ratio preset buttons below the canvas (e.g., 1:1, 16:9, 4:5). This locks the crop box proportions so you can't accidentally create an odd shape.
- Choose "Free Crop" for custom shapes: If you want to remove unwanted edges and don't care about the final ratio, select the "Free" option to adjust the sides independently.
- Adjust the crop box: Click and drag the corners or edges of the highlighted area to adjust the size. Click and drag inside the box to reposition it over your subject.
- Apply and Download: Once you are happy with the framing, click "Crop Image." You can then download the result instantly.
Best Practices for Cropping Photos
- The Rule of Thirds: When cropping, imagine a 3x3 grid over your image. Place the most important elements (like a person's eyes or a product's focal point) along the grid's intersecting lines, rather than dead centre. This creates a more dynamic composition.
- Leave "Looking Room": If your subject is looking to the left or right, crop the image so there is more space in the direction they are looking. It feels more natural than cropping tightly against their face.
- Don't amputate at joints: If you are cropping a picture of a person, avoid cutting the image off exactly at the neck, elbows, or knees. Crop mid-torso or mid-thigh instead.
- Watch the resolution: Cropping discards pixels. If you take a low-resolution image and crop it heavily, the resulting image may be too small or pixelated for its intended use. Always start with the highest resolution original you have.
Related Image Tools
Once you have cropped your image to the correct shape, you might need to adjust it further before publishing:
- Image Resizer: If the platform requires specific pixel dimensions (e.g., exactly 1080x1080), resize the image after cropping it to a 1:1 ratio.
- Image Compressor: Large image files slow down websites and take up unnecessary storage. Compress your final image to reduce the file size without losing visible quality.
- Image Format Converter: Ensure your image is in the right format (convert PNG to JPG for photographs, or to WebP for modern web performance).
- Background Remover: Isolate your subject from a distracting background before creating marketing collateral.
For web developers managing responsive UI layouts and Core Web Vitals (CLS), learn how cropping pairs with WebP conversion and SVG dividers in our Frontend Web Asset Pipeline Guide.
Share this article
Help other marketers, developers, and creators discover these insights.